Thursday, August 20, 2015

HAND PAINTED SNAIL T-SHIRT

WHAT THE RUSH?

HAND PAINTED SNAIL T-SHIRT

 
          It has almost been a year having done the drawing and tracing on this T-shirt for my little one. As the schools are about to re-open in a few days, I thought to complete it so she could wear it to school. The year passed very quick and I kept thinking and telling to myself, " What's the rush?"  ......
          Holding the painting brush after long gave me real inner joy and pleasure. Painting is so relaxing and improves my concentration and focus too.
           Using acrylic colors, blending them and creating their tones, giving  outlines and adding a dash of ornamentation was really fun! I loved to paint cute pictures right from childhood. Today as I was painting, I went into my past.... My school days,.... when I always picked cute pictures to draw and borrowed friend's notebooks only to draw and paint them....
            I loved how it turned out and hope you will also love it as much as I enjoyed making it! Thanks for watching!


Ready for # Back-to-school !
         

Monday, June 29, 2015

Handpainted Superhero T-shirt

 Super Easy Hand Painted  Superhero T-shirt


My son is a fan of Superheroes! When I purchased a solid yellow T-shirt for him, I decided to paint something for him on it. Batman was a super cool idea! So I just grabbed my brushes and colors and decided to paint him his T-shirt.


I used black acrylic color for this and brush size 2 for the outlines. The filling is done using size 5


Sorry for the color differences in the images as the pictures were taken at different times (day and night).

No doubt it was a super easy project as there was no shading and no different color used :) The results were amazing too! 


Friday, January 30, 2015

UPCYCLED FILE ORGANISER

UPCYCLED FILE ORGANISER
Doesn't it look cool? Well, here is something that everyone would like to make. This is a simple and quick project. It will be appreciated by every person who sees it. It can be done not only by you but even by school going kids. The materials used are very simple. All you need is,
 
Materials Used:
  1. Cardboard box.
  2. Duct tape of your choice and color.
  3. Pair of scissors.
 
Method:
 
1. The pictures I share are enough to explain how it was done. Firstly, the base was covered. Each stripe was overlapped a little.

 
2. Then, the sides were covered. The reason to cover it is to make it sturdier and give it a new look. Moreover it has become water proof from outside too.


The same procedure was followed to make the second file organizer.


All set! All kinds of books or files can be organized  in just minutes! The joy of making these holds no limit! So, go ahead and organize yours too!
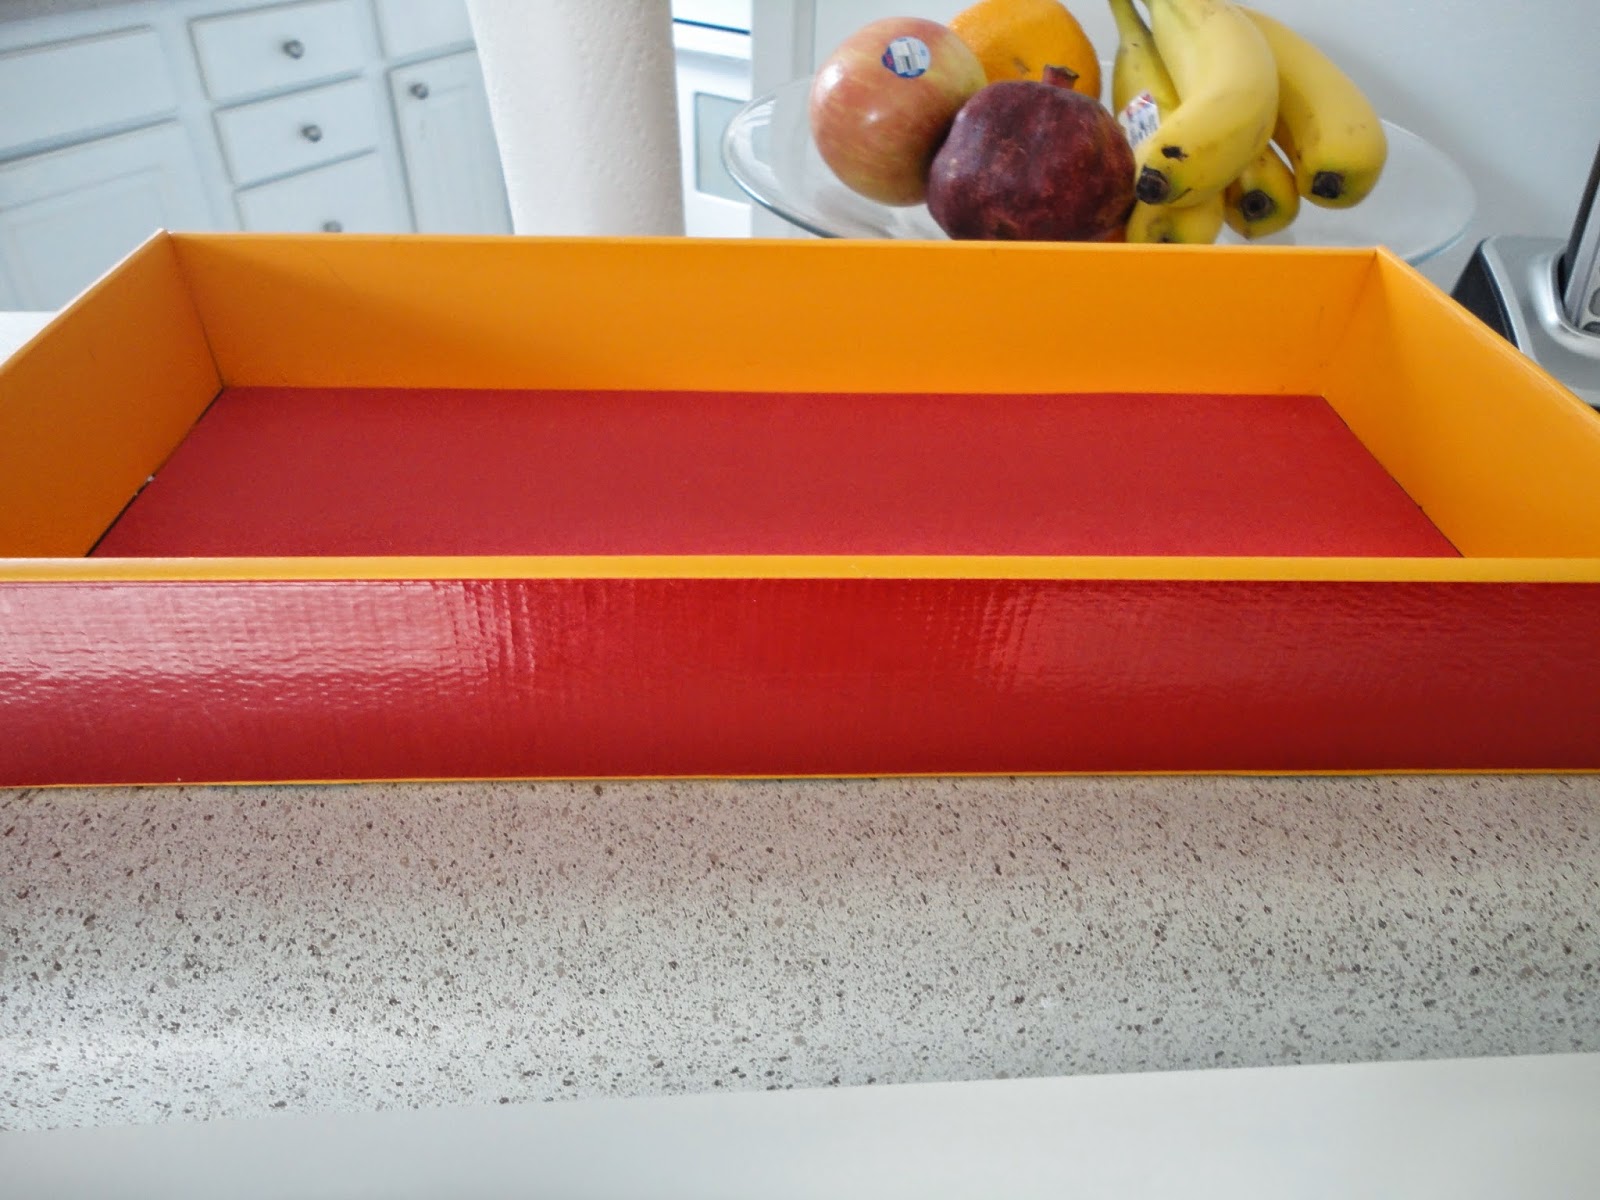
            Here is a extended version of organizing your stuff like your glasses, shades, wrist watches and even your mobile phones. I made a tray to hold all these stuff in just minutes and recycled a cardboard tray too.


So, let the fun to create these begin!


Tuesday, December 23, 2014

UPCYCLED CHRISTMAS STOCKINGS

UPCYCLED CHRISTMAS STOCKINGS
You might be thinking about how did I make these? Well, actually these are made out of an old shirt of my daughter which was outgrown. I loved the snow flake pattern and the color of the fabric and could not resist making these. The fabric seemed just perfect for Christmas.

I had the pattern but it was used just as a guidance as I needed a larger stocking. Here is the pattern for the smaller stocking. I kept lot of margin and then marked with a chalk on the fabric. I used a pair of scissor to cut it. I would like to thank www.ericacatarina.blogspot.com.br for the pattern.

To make these all I did was I first removed all the borders and cut the seams in order to separate the sleeves.

I then placed the pattern on the reverse side of the fabric and used a chalk to mark the shape of the stocking.

After cutting it looked like the picture shown below.
I thought of making two of them for both of my kids as I had sufficient fabric also for two. One was a little longer than the other. but it hardly mattered. Luckily, I had some white felt also at home. so I thought to give them a white border and I cut red strips for each of them for hanging them near the fireplace too.
The next thing was to stitch them using a sewing machine. That just took me few minutes.


I used zigzag stitch at the edges because of two reasons, so that the threads would not fray and also the fabric was too thick and despite keeping the stitch length 5, the stitches were coming too minute and close. I am sorry for the different color brightness of the pictures as they were taken at different times of the day and stitching was done in the night.Once the stitching was done, I then attached a strip to the inner side to hang or suspend the stockings near the fire place.
I now wish to personalize them. You may monogram yours or personalize or simply put your initials or embroider yours. This is how one can make a Christmas stocking in just a few minutes at no extra cost. Merry Christmas!
 

Friday, December 12, 2014

REMAKING COASTERS

REMAKING COASTERS

 
Today I am posting after many months. I shouldn't say that I did not do any crafting all these days, but I simply did not find time to post them. I will gradually post all of them one by one. Today I did a quick remaking of my coasters. It is a simple project and takes hardly few minutes.
 Here is a picture of what they looked like before their remaking. I had four of such coasters.
Step 1. The cork layer started to come off. So, I just took it off completely from all the four coasters.
Step 2. Then I took red colored foam sheet and marked out the inner diameter and cut out four circles of red foam sheet using a pair of scissors.

Step 3. All I had to do was use some glue dots and paste the red circles inside the plastic ones. Voila!!
 
They look amazing just as new. I made it coordinating with my couch. You may choose your favorite colors or have several colored circles cut out handy and keep changing according to the season or occasion. Try it out!


Friday, May 9, 2014

Teacher Appreciation Ideas

JUMBO PENCIL FOR TEACHER APPRECIATION WEEK

              I decided to give pencils to the teacher as gift for 'Teacher Appreciation Week'. We had to give some classroom supplies to the teacher, so I thought to give out pencils as they are frequently used and lost by kids. So I took an empty Pringles box of chips and thought of using it to make the 'Jumbo Pencil Box'. I covered it using yellow, pink and brown construction paper. I stuck it with Elmer's glue. I took a shining silver ribbon and hot glued it on the joint of pink and yellow paper. I colored the tip of the Jumbo pencil using a black Sharpie marker. I wrote the name of the class teacher on the sides and wrote No. 1. On the tag, I wrote 'Pencils are No.2 but teacher you are No.1'.
              This is how the Jumbo Pencil turned out!

Thursday, March 13, 2014

Repurposing mac and cheese empty cardboard box.

REPURPOSING MAC AND CHEESE EMPTY CARTON

         Today I got another idea to repurpose empty cartons. Though I had posted how to make organizers before but now I loved this one more as they are more stronger and these won't get faded with time and won't get dirty soon. It was way more faster to do this as I did not have to glue the papers each time.
          Here is the link of my previous post in which I had used construction paper instead of duct tape.
          All I needed to make these was an empty carton of Mac and cheese and some duct tape. I had two of these cartons at home but I am waiting for one more to accommodate in the third cubby of my desk. Actually I had covered the whole box in black printed duck tape. I ran short of it and had to buy a solid black duct tape to go with it. I was lucky that I ran out with the printed one, as this one looks more better with a solid black border. 


Before
 
 
After
They really have become quite strong now and even kind of water-proof. I really tell this is a quick way to do, better than using paper and glue. I enjoyed doing it. If you have some old shoe boxes at home then you may start right away. But have enough of duct tape in hand so that you do not run short of it like me. Happy crafting!