Tuesday, August 2, 2016

UPCYCLED GARDEN FLOWERS USING MOTT'S APPLE SAUCE SNACK&GO POUCH LIDS AND GOGO SQUEEZ LIDS.

EASY TO CREATE EVER YELLOW GARDEN FLOWERS


      When I had purchased Applesauce Snack&Go and GoGo Squeeze for my kids, the first thing that came into my mind on seeing the lids was Sunflowers!

The lids really looked something different and I wanted to create flowers out of them. 
       I first collected few lids and washed them nicely with soap and water. I then used the yellow Mott's  applesauce lids to create the flowers and the green GoGo Squeez lids to create the leaves. I used lollipop sticks to create the stems.
       The steps are shown below to create these ever yellow flowers which will never wilt or wither away and will not need any water. It is very easy to create these and they look just wonderful in a garden!

Materials Needed:


I used Hot glue to glue the Lollipop sticks to the leaves and flowers.


The white stems /sticks were  then painted green using acrylic colors. I left them upside down for the paint to dry.


 Once all flowers were ready, I planted them in a planter to give them a real look! I placed them outdoors on my porch. They looked beautiful and I am sure yours will look too!


Monday, October 26, 2015

BRACELET/ BANGLE DISPLAY STAND/ HOLDER

BRACELET/BANGLE DISPLAY STAND/HOLDER
Today I am sharing again with you something to create best out of waste, which was made nearly 2 years ago. I love churning out beautiful useful things from unwanted stuff at home. I made this display stand for my bracelets or bangles which really needed some organized place. Now they are so handy and I can choose easily what I need to wear. Hope you like it!
Things needed:
1. Cardboard foil tubes-2
2. Waste small cardboard box.
3. Drawer knobs-2
4.  Foam sheets.
5. Zig-zag cutting scissors.
6. Hot glue.
Method:
Step 1. Measure the cardboard box and make a paper cutting for the 4 sides. Mark the position for the cardboard tube for the top.


Step 2. Take empty waste cardboard foil tube and make a hole in the center of one tube and insert the second tube in the first.
Step 3. Once a T-shape is formed, make a hole in the cardboard box in the center. Insert the T-shape into the hole in the box and hot glue it around.

 
Step 4. Cut foam sheet by placing the paper cutting and hot glue the foam sheet on the box and also on the cardboard tube.


Step 5. Paste the two drawer knobs into the two holes of the cardboard tube using hot glue.

Step 6. For finishing the edges, contrast color foam sheet was cut into one inch wide strips using zig-zag scissors. These contrast color strips were hot glued on the edges.


My bangles and bracelets remain in one place organized and I can quickly choose what to wear! This is a project made with waste materials at home. I spent nothing on this. I had every material at home. Hope you love it and try making it by yourself! If you do make, don't forget to post me the pictures of yours!! I would love to see it!
 

HOW TO MAKE HOT GLUE GUN HOLDER

DIY HOT GLUE GUN HOLDER
Today I will share how to make a hot glue gun holder out of waste materials lying at home. It is very useful thing used almost always. It keeps my glue sticks organized and the wire of the glue gun untangled and is a very handy thing for me. I had made it nearly two years back but thought to share it with you all.
Materials Required:
1. Empty soda can
2. Corrugated sheet from an empty carton
3. Wooden clothes pin
4. Duct tape
5. Two wooden dowels/sticks
6.  Cardboard roll from a ribbon or tape
7. Acrylic paint (color of your choice) and a brush
8. Block of wood
9. Scissor
10. Hot glue
Method:
Step 1. Carefully cut a soda can using sharp scissor from the bottom. The bottom part will be used to hold extra glue beads or molten hot glue.
Step 2. Fold the edges inwards so that we can hot glue this on a flat surface.
Step 3. Cut corrugated cardboard into 4 rectangle pieces as shown below. Stick them to each other using hot glue gun. This makes a thicker base for the glue gun holder.

Step 4.Then attach two wooden dowels/sticks on a wooden block using hot glue as shown below. Prepare few wooden clothes pins by removing away the metal spring from them and hot gluing them together. The picture below will better explain the method.
Step 5. Duct tape was used to cover the cardboard roll and the edges of the cardboard to give a finishing to them.
Step 6. Everything was hot glued to the corrugated cardboard base made in step 3.
Step7. Using acrylic paints and brush, everything was painted. I love pink color so I used pink. You may use color of your choice.
Step 8. All my glue sticks and glue gun remain organized here and I love the wonderful, useful and handy hot glue gun holder. Hope you like it! If you create yours, do send me pictures!


Thursday, August 20, 2015

HAND PAINTED SNAIL T-SHIRT

WHAT THE RUSH?

HAND PAINTED SNAIL T-SHIRT

 
          It has almost been a year having done the drawing and tracing on this T-shirt for my little one. As the schools are about to re-open in a few days, I thought to complete it so she could wear it to school. The year passed very quick and I kept thinking and telling to myself, " What's the rush?"  ......
          Holding the painting brush after long gave me real inner joy and pleasure. Painting is so relaxing and improves my concentration and focus too.
           Using acrylic colors, blending them and creating their tones, giving  outlines and adding a dash of ornamentation was really fun! I loved to paint cute pictures right from childhood. Today as I was painting, I went into my past.... My school days,.... when I always picked cute pictures to draw and borrowed friend's notebooks only to draw and paint them....
            I loved how it turned out and hope you will also love it as much as I enjoyed making it! Thanks for watching!


Ready for # Back-to-school !
         

Monday, June 29, 2015

Handpainted Superhero T-shirt

 Super Easy Hand Painted  Superhero T-shirt


My son is a fan of Superheroes! When I purchased a solid yellow T-shirt for him, I decided to paint something for him on it. Batman was a super cool idea! So I just grabbed my brushes and colors and decided to paint him his T-shirt.


I used black acrylic color for this and brush size 2 for the outlines. The filling is done using size 5


Sorry for the color differences in the images as the pictures were taken at different times (day and night).

No doubt it was a super easy project as there was no shading and no different color used :) The results were amazing too! 


Friday, January 30, 2015

UPCYCLED FILE ORGANISER

UPCYCLED FILE ORGANISER
Doesn't it look cool? Well, here is something that everyone would like to make. This is a simple and quick project. It will be appreciated by every person who sees it. It can be done not only by you but even by school going kids. The materials used are very simple. All you need is,
 
Materials Used:
  1. Cardboard box.
  2. Duct tape of your choice and color.
  3. Pair of scissors.
 
Method:
 
1. The pictures I share are enough to explain how it was done. Firstly, the base was covered. Each stripe was overlapped a little.

 
2. Then, the sides were covered. The reason to cover it is to make it sturdier and give it a new look. Moreover it has become water proof from outside too.


The same procedure was followed to make the second file organizer.


All set! All kinds of books or files can be organized  in just minutes! The joy of making these holds no limit! So, go ahead and organize yours too!
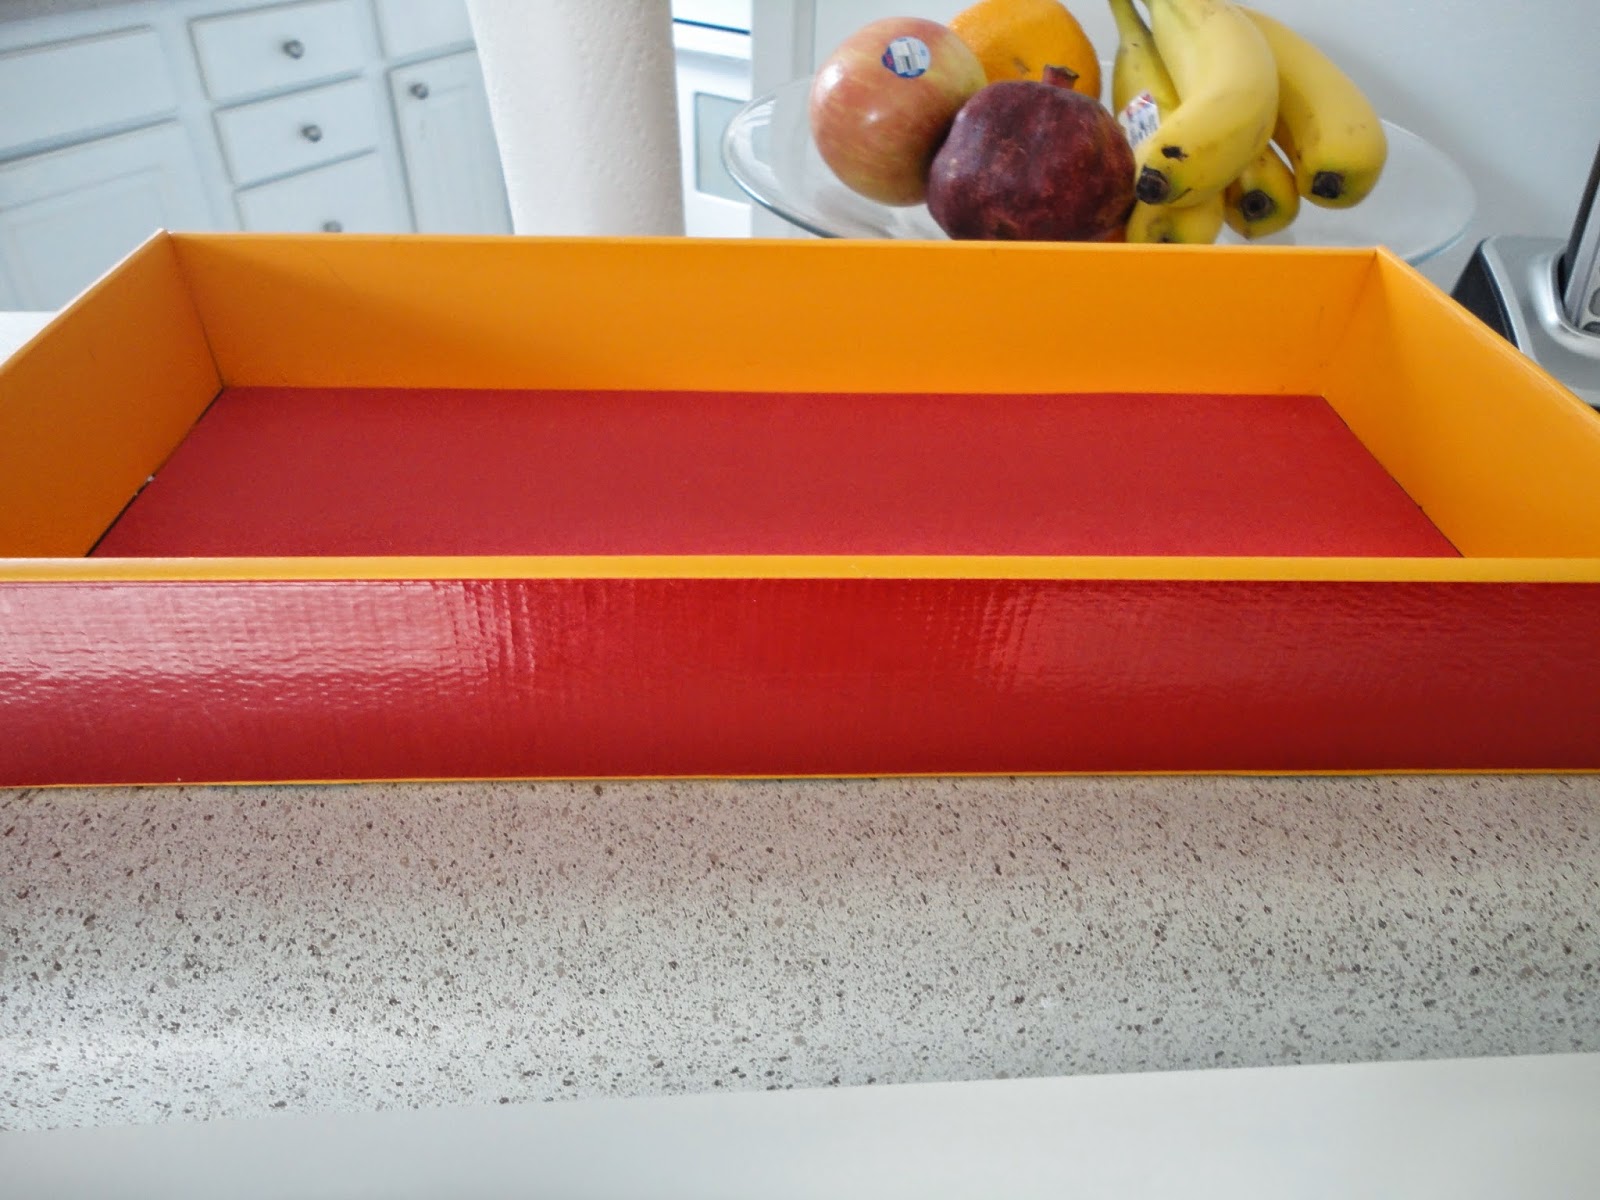
            Here is a extended version of organizing your stuff like your glasses, shades, wrist watches and even your mobile phones. I made a tray to hold all these stuff in just minutes and recycled a cardboard tray too.


So, let the fun to create these begin!